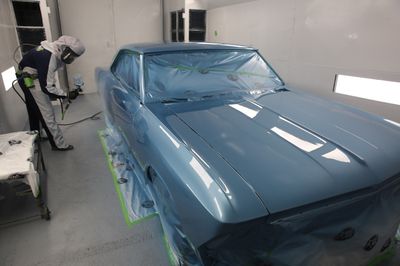
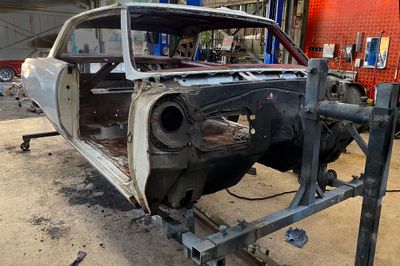
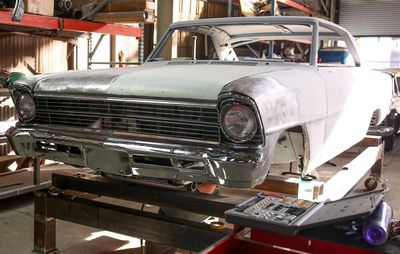
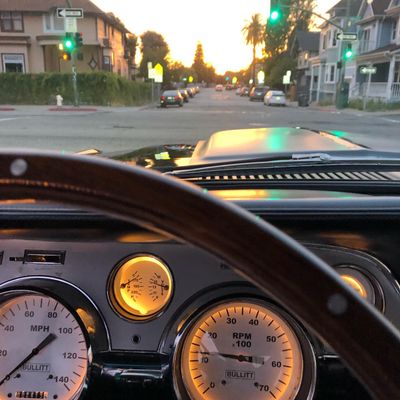
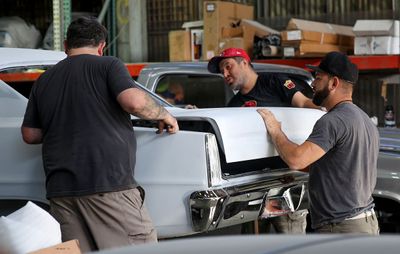
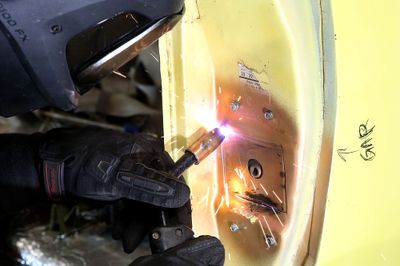
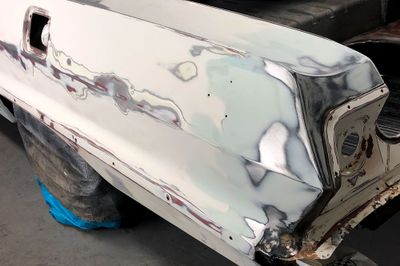
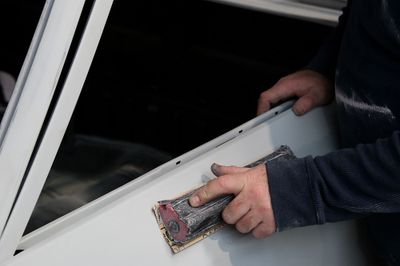
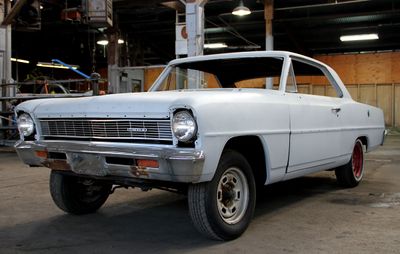
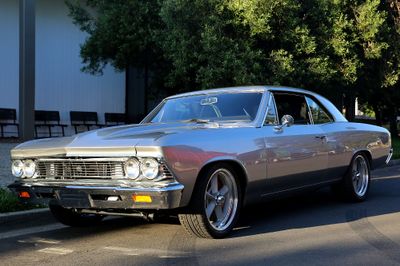
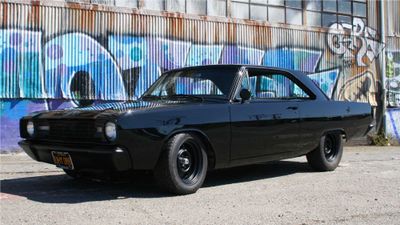
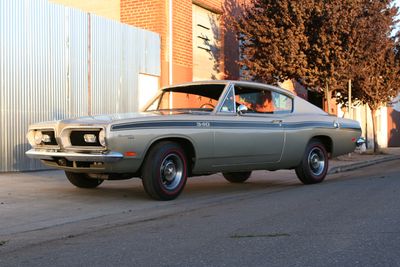
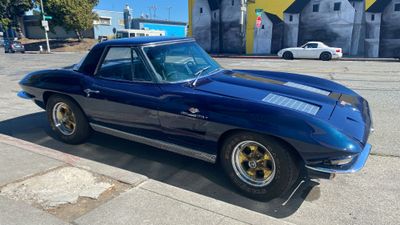
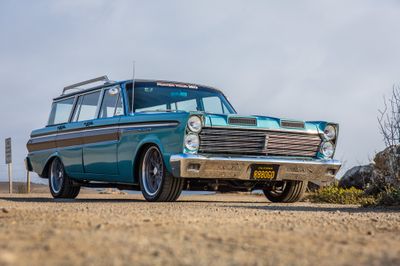
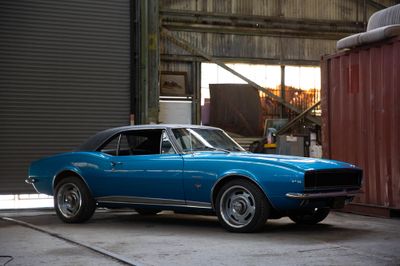
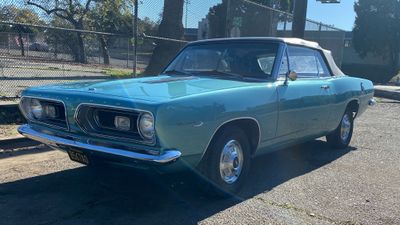
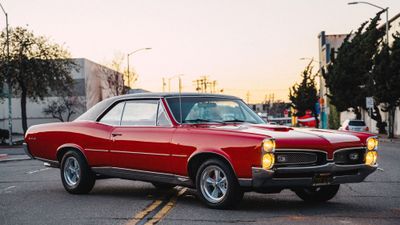
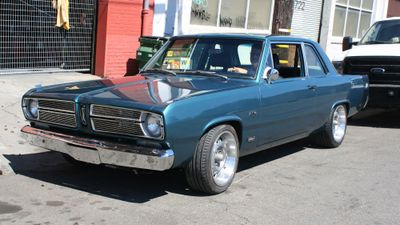
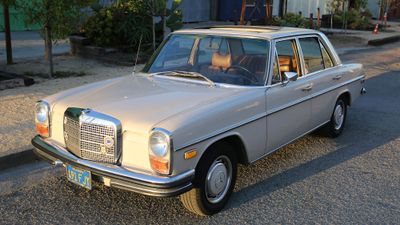
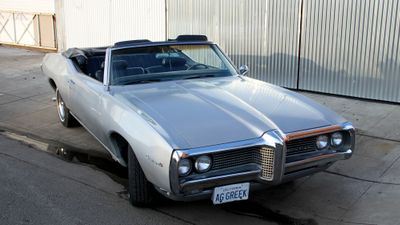
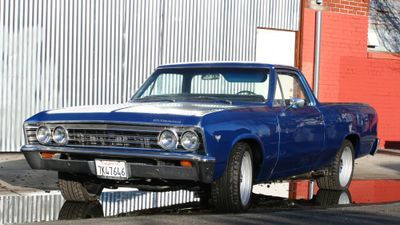
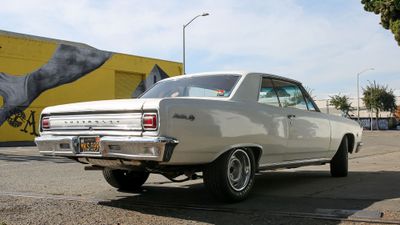
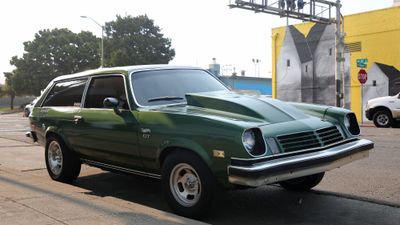
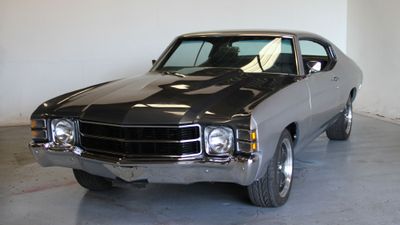
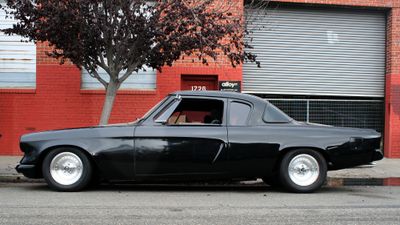
Custom High End Paint

67 Dart Vader Mopar Muscle cover

Clean Up your Ride

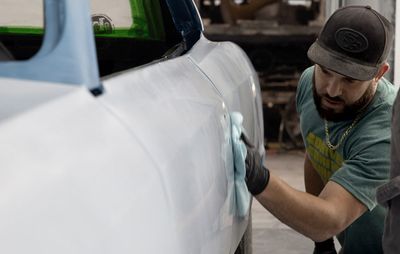
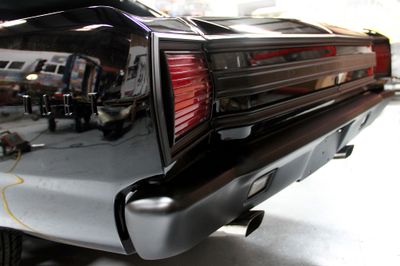
We specialize in high end work, not collision repair, so our technicians are focused on the quality of your project and not throughput. We take the time to repair, align and finish every project from bare metal to final cut and buff.

blue paintbooth
66 Chevelle silver rotissie

It starts with taking it apart

The first thing we do is completely disassemble the car. Every nut, bolt, piece of glass, wires, piece of trim is removed, cataloged and marked. Along the way we take notes for broken bolts, missing parts etc. From here we start a list of what we will need to complete your job in detail. Once the car is back from the media blaster - We will assess body damage and metalwork required - and which panels will be replaced or repaired.

How Driven Does It Right

Tips from the Pros
67 Nova front together full

After years under cars, we've honed the best installation matched with the right parts to do the job right

Strip it or forget it.

We won’t simply sand and bodywork over the 10 layers of paint that are already there. Every car gets media blasted to remove all of the old finishes, bodywork and rust. We won’t compromise here as going over old paint creates nothing but problems down the road.

70 Mustang green lights

We’re masters of metal

We repair (or replace) all the damaged sheet metal and pre-assemble the car to fit all the panels either on the chassis or on a build stand and refine all the gaps for doors, fenders, trunk and hood. Even new reproduction panels sometimes require significant modifications in metal to ensure proper fit.

68 cuda white patch hand
67 Nova trunk fit

The right foundation

Proper bodywork, primers and expert craftsmanship with hours and hours of block sanding lay the groundwork for the final finish. This is the most labor intensive part of the process. Without laser straight panels and perfect lines - the paint on top won’t matter much.

Complete Paint Process

Over the years we have honed our paint process to the steps described below. There are smaller steps in-between - and we do sweat every detail. We won’t compromise here, as compromising by skipping steps or changing our process usually results in sub-par work.

68 Valiant parts

The first thing we do is completely disassemble the car. Every nut, bolt, piece of glass, wires, piece of trim is removed, cataloged and marked. Along the way we take notes for broken bolts, missing parts etc. From here we start a list of what we will need to complete your job in detail. Once the car is back from the media blaster - We will assess body damage and metalwork required - and which panels will be replaced or repaired.

68 Valiant yellow weld door

In this step we repair (or replace) all the damaged sheet metal and pre-assemble the car to fit all the panels either on the chassis or on a build stand and refine all the gaps for doors, fenders, trunk and hood. Even new reproduction panels sometimes require significant modifications in metal to ensure proper fit.

If we’re doing body modifications we do them all in this step and fully build the basic car with to ensure all the panels fit and all the holes we don’t need and components we are changing fit. Sometimes we may fully build the car with the engine and transmission and even suspension so that all the modification can be done without any risk of scratching paint.

Body filler

Bodywork / Filler

Once everything is fit and we’re happy with the panel gaps and mods in metal we do our body filler work - We don’t call it “Bondo” and it’s not a bad word. Filler work is required to get the surface of all body panels closer to where we need them to be. Done properly, this filler can last 50+ years without issues. Can we metalwork your car without using any filler? Totally - but that’s easily 800-1000 hours of labor to get there. Using modern body fillers - and making sure that our metalwork is within 1/16” or less we can get the same or better results in less time.

ElCamino block sand detail

Prime round 1

  • Epoxy primer We follow bodywork with an overall epoxy primer on every surface inside and out and apply a high build primer directly to the epoxy. This encapsulates the metal and filler bonding through and gives us a build of primer to start our block sanding work.
  • Block sanding and finish body work After primer we will re-assemble the panels and hand block sand with long-boards in 120 / 180 grit finish. At this stage we further refine the lines and bodywork to make every panel and gap laser straight and smooth.

Prime round 2

  • Re-prime again Here we re-prime the entire exterior again after a clean and mask to fill in all the 180 grit sand scratches and build another layer of primer for further surface refinements. Here we spray a medium build surfacing primer after a thorough cleaning.
  • Block sand… Again Now we switch to block sanding with 220 / 320 grit paper by hand again using longboards. This further smooths the surface of the primer and allows us to get all the final lines and finish very smooth.
67 Nova prime

Final prime / Sealer

  • This is our final primer stage. At this point the car is taken back apart and a sealer coat is applied to all outside and inside surfaces. This final coat locks everything down and is what the base coat and clear coat will be applied to. We also use this last seal step to apply any urethane seam sealer to panel overlaps and seams.

Final sand

  • After the sealer is applied, we wet sand all of the panels 600/800 grit to remove any “Orange Peel” and imperfections from the sealer coat and allow the scratches from this sanding round to act as the mechanical bond for the paint and clear coat.
67 Chevelle paintbooth cleaning

If we’re spraying a metallic color on the car - at this point we will paint and clear coat the inside of the panels and the door jambs, fender and trunk jambs so that we can spray the car together. This is an important step for metallic paints as when the base coat comes out of the gun - we want to ensure that the flakes are oriented in the right direction from fender to door, door to quarter panels, etc. On solid color cars with no metallic this is the only step we skip as we can just paint the panels and fit them after.

Clean and spray jambs

  • Clean everything 3x mask and spray all the insides of panels and the door jambs, fender jambs, and trunk jambs. We give everything 3 coats of base coat followed by 3-4 coats of high quality high solids clear coat.

Assembly and panel align

  • After the jambs and insides are done - it’s time to put it all back together and align the panels for the metallic paint. We’re sure you’ve seen cars that look like one panel is a bit “off” from the next - that’s because the shop skipped this step and painted a metallic color in pieces. The spray pattern needs to flow from panel to panel.
Blue paintbooth

It all comes down to this - All the work to get to this point has given us a solid foundation that is straight, smooth and ready to be finished. Most people think that we just sand a car real quick, prime it and spray on the paint - but in reality the actual painting process is the least labor intensive part of what we do. We do hundreds of hours of prep work to get here - and it’s under 20 hours of actual painting. Here are the paint and finish steps we adhere to.

  • Clean, clean, clean again and mask The spray booth needs to be cleaned and new filters installed. The car and body panels will be cleaned several times here. We can’t have any contaminants on the surface prior to paint. Any areas we are not painting are masked off.
  • Base coat and drop coat We spray 3-4 coats of base coat - and for metallics do a final “drop coat” that ensures there is no striping or panel to panel issues with the metallics in the paint. We feature high quality paint products from Spies Hecker / Axalta for all of our work.
  • Clearcoat The first phase of clear coat consists of 3-4 coats of clear coat applied with proper flash times between coats. This provides the shine over the base coat and protects it from the sun / elements.
  • Wet sand After the initial 3-4 coats of clear are laid down - we wet sand all of the outside surfaces with 800-1000 grit sandpaper by hand with blocks to remove the “orange peel” texture, and any imperfections. This mechanical sanding provides us with a mechanical adhesion for the final flow coat.
  • Flow coat This is the final step of clear coat. We add 2-3 additional coats of clear coat to the wet sanded surfaces to add more depth and shine. We add a little more reducer to the clear allowing it to “flow” and level better.
  • Wet / dry sand for compound and polish After the flow coat - the surface is smooth and glossy with little orange peel. But we take it a step further to make the surface smooth as a mirror. We start by wet sanding by hand with blocks the entire exterior 1,200 grit. We follow that up with 4 rounds of machine sanding using 1,500 grit, 2,000 grit, 2,500 grit and 3,000 grit.
  • Compound and polish The wet / dry sand process has left the surface of the clear smooth - but now we have to shine it all back up and remove the 3000 grit scratches. This process involves using compound and polish in 3 steps with a rotary and orbital buffer. This gives the clear coat that wet and glossy look that we’re all aiming for.
  • Mask and spray urethane texture (optional) For many jobs - we also spray the inside, and underneath of the car with a urethane texture coat. This coating is similar to pickup truck bed liner and offers protection from road debris, as well as heat and sound insulation.
67 dart vader rear

Now that the paint work is all done - it’s time to install the chrome trim, stainless window moldings and bumpers, handles, door and window weatherstripping. We take great care not to scratch all of our hard work putting the bright work back on. Glass will be installed at this point as well.

What does it all cost?

That’s a very loaded question! On the lower end our paint service requires at a minimum exterior disassembly with all trim and glass removed and stripping to bare metal. On the higher end and rotisserie restoration to concours level or a magazine feature worthy custom Resto-Mod and anything in-between is in our wheelhouse. Price really comes down to level of fit and finish, modifications and parts we use.

There is no single price - but see the table below that details the basics for 3 levels of build level based on labor and components / modifications. There is crossover from one extreme to the other and every job is different - but you can use this as a guide to see how low - or far we can go.

Metal / Body / Paint / Finish - Just metal / body / paint work for a standard job to full on show car.

Description Rate Hrs Low Hrs Med Hrs High Cost Low Cost Med Cost High
Basic Disassembly $100.00 20 30 40 $2,000.00 $3,000.00 $4,000.00
Metalwork $180.00 20 50 100 $3,600.00 $9,000.00 $18,000.00
Body / Paint prep $140.00 80 120 150 $11,200.00 $16,800.00 $21,000.00
Paint / Finish $150.00 40 80 120 $6,000.00 $12,000.00 $18,000.00
Re-assembly $140.00 20 60 100 $2,800.00 $8,400.00 $14,000.00
Paint / Body Materials $4,500.00 $6,500.00 $8,500.00
Weatherstripping / Rubber $500.00 $800.00 $1,500.00
Trim / Bumpers $1,000.00 $2,000.00 $6,000.00
Subtotal $31,600.00 $58,500.00 $91,000.00
Labor only $25,600.00 $49,200.00 $75,000.00
Parts/Materials only $6,000.00 $9,300.00 $16,000.00
Paint colors

Quality materials matter

We feature the best materials for our paint work and use Axalta / Spies Hecker paint, clearcoats and primers for all of our work. The best materials cost a bit more - but make all the difference. With our in-house mixing bank we can make any color.

Color and final finish

Most people think that we just sand a car real quick, prime it and spray on the paint - but in reality the actual painting process is the least labor intensive part of what we do. We do hundreds of hours of prep work to get here - and it’s under 20 hours of actual painting. After that the final finish process of wet / dry sanding and compound polish gets us that mirror finish.

66 Chevelle silver front left
A

This varies based on condition - but a basic job will take around 8 weeks from start to finish. A full custom build and / or restoration can take 6 mos. to 24 mos. depending on level of build, components and parts availability.

A

We don’t do this type of work. Paint is only as good as what is under it - and if we don’t skip it, we don’t do it - and we can’t offer a warranty. There are plenty of shops that can service this level of work.

A

We take this work on a case-by-case basis. So the correct answer is “It Depends” - but we’re happy to review your project in person.

A

We take a small portion for the build spec and design work if that is a part of the process. From there we bill on a regular schedule based on job length for parts, materials and labor. The payment terms will be defined in the build spec and estimate - but in general we bill every 2 weeks for shorter jobs, and every 3-4 for more complex longer term jobs until complete. It can be 4 payments or up to 30 payments depending on the job.

A

Sure - we’ll need to do an estimate and work with your insurer to get your classic car back to new again. We typically only work with specialty classic insurance companies like Hagerty and Grundy where the vehicle is covered by and agreed value policy. There is a charge for insurance estimates which is applied to the first payment.

A

Properly done paint work is a very labor intensive process and can take hundreds of hours to do a job that looks good and lasts. Quality materials are expensive, and professional certified technicians don’t come cheap. We don’t compromise on quality for either time or materials.

A

No way - we work on time / materials and parts. Once the car has been disassembled and blasted we can hone in closer on what it will take. But some cars need more work than others for metal and body, and some cars have parts that are expensive and hard to find.

A

Totally! This happens all the time… “Paint shop jail” is a terrible place to be. Just know that we may have to re-do some of the work that they already did to make sure it's right - and we won’t get involved with getting your car back for you.